So you want to be a hero topic modeler? It turns out it’s not that difficult, thanks to the work those who created and maintain MALLET and the team behind The Programming Historian‘s lesson on topic modeling (see more in credits below).
The 7 Steps of Highly Effective Topic Modelers
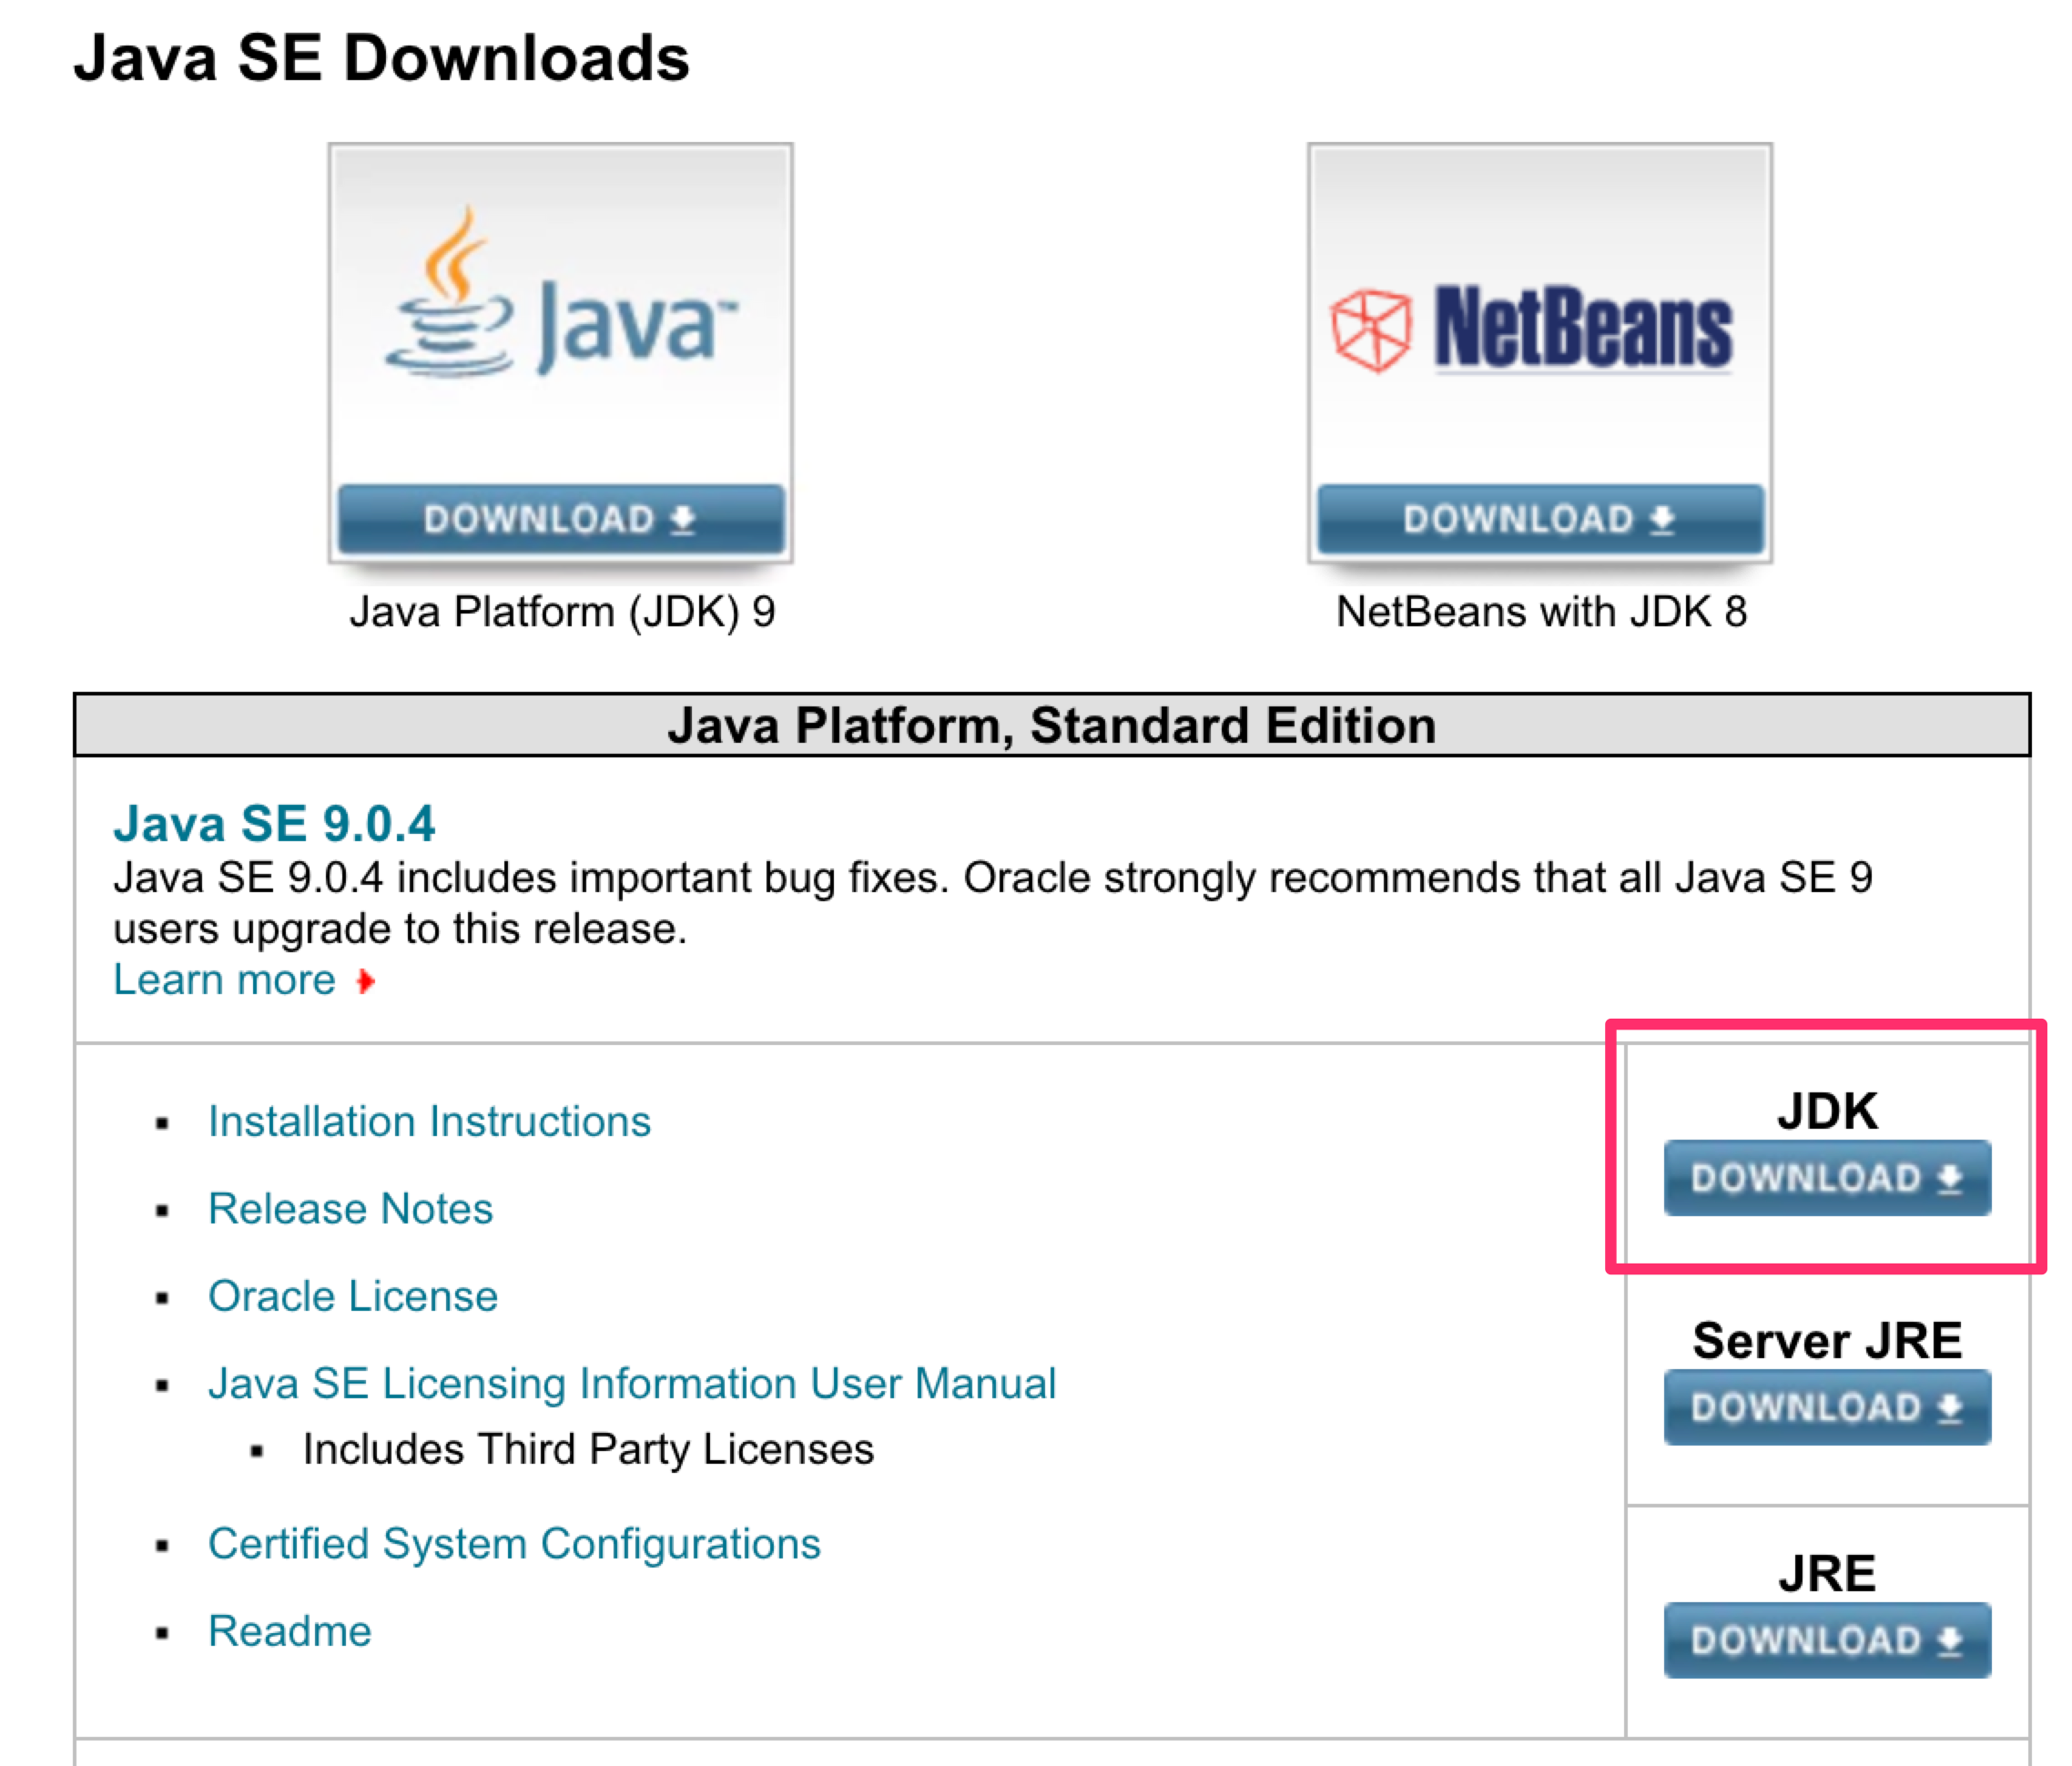
1. Get the JDK
Download and install the Java Development Kit (JDK).
2. Get MALLET
MALLET is the MAchine Learning for LanguagE Toolkit, which was developed at U Mass Amherst by Andrew McCallum and his grad students. Download the right zip file for your computer. What you do next depends on your operating system.
Windows PC
- Unzip MALLET into your C: directory. This is important: it cannot be anywhere else. You will then have a directory called
c:\mallet-2.0.8or similar. - MALLET uses an environment variable to tell the computer where to find all the various components of its processes when it is running. It’s rather like a shortcut for the program. A programmer cannot know exactly where every user will install a program, so the programmer creates a variable in the code that will always stand in for that location. We tell the computer, once, where that location is by setting the environment variable. If you moved the program to a new location, you’d have to change the variable.
- To create an environment variable in Windows 7, click on your
Start Menu -> Control Panel -> System -> Advanced System Settings. Click new and typeMALLET_HOMEin the variable name box. It must be like this – all caps, with an underscore – since that is the shortcut that the programmer built into the program and all of its subroutines. Then type the exact path (location) of where you unzipped MALLET in the variable value, e.g.,c:\mallet.
Mac
- Unzip the directory somewhere on your computer. For the sake of demonstration, let’s go to your Documents folder. In that folder we’ll create a new folder called “tm” for topic modeling (
mkdiron the command line). In that directory, we’ll create one called “mallet.” - Unzip the file in that folder.
- From the command line, navigate to that folder.
Check commands
Type ./bin/mallet (Mac) or bin\mallet (PC) to see the commands that you can run.
3. Increase MALLET memory (optional)
MALLET will work better if you give it more memory than it is allowed by default.
- Go to the
bindirectory in the MALLET folder. - Open the
malletfile in a text editor. - Change the
MEMORY=1gto a higher number to make more use of your RAM. Naturally, you can’t use more memory than you have. For example, I have 16GB of RAM, and I have set MALLET to use 8GB.
4. Create a MALLET corpus
Now you’re almost ready to start topic modeling. This is a two-step process. The first step is assembling all of your documents and then putting them into a single file for MALLET to read. It will have the extension .mallet. I’ll refer to this file as a MALLET corpus.
First, bring all of your texts into one directory somewhere on your computer. Second, from the command line:
- make sure you’re in the MALLET directory
- run one of the following commands based on your operating system:
- on a Mac:
./bin/mallet import-dir --input “directory” --output “name”.mallet --keep-sequence - on a PC:
bin\mallet import-dir --input "directory" --output "name".mallet --keep-sequence./bin/malletinvokes MALLETimport-dirtells it that you’re importing a directory--inputplus the directory location tells it what text files you want to pull from--outputtells it what the MALLET corpus should be named--keep-sequence: “This option preserves the document as a sequence of word features, rather than a vector of word feature counts. Use this option for sequence labeling tasks. The MALLET topic modeling toolkit also requires feature sequences rather than feature vectors.”
- Check that you have a new
.malletfile in your directory with thelscommand.
Optional Commands for Stopwords
MALLET comes with a stopword list that you can call when creating the MALLET corpus. To do this, add the command --remove-stopwords to the import command. To see what terms are included in the default MALLET stopwords list, go to the MALLET directory > stoplists > en.txt.
You cannot add words to the MALLET stopwords file. (Well, you can, but it won’t affect what MALLET does as the list is just there as a reference for an internal function.) Instead, you can create another text file (in TextEdit on Mac or Notepad on Windows) with one stopword per line. You should name and save this file to your MALLET directory (e.g., extra-stopwords.txt). When creating your MALLET corpus, you would use both --remove-stopwords and a new flag, --extra-stopwords [filename] (e.g., --remove-stopwords --extra-stopwords extra-stopwords.txt)
Remember, of course, that using stop words will radically change your output. Doing so can be good or bad; the one thing for certain is that it is never simply neutral.
5. Train Your Topics
Now that we have a MALLET corpus, we are ready to start the unsupervised machine learning. This is referred to as “training” your topics.
From the command line, make sure that you’re (still) in your MALLET directory.
Run the following command on a Mac: ./bin/mallet train-topics --input “name”.mallet --num-topics "X" --output-state “name”-topic-state.gz --output-topic-keys “name”-keys.txt --output-doc-topics “name”-composition.txt. For a PC, use the same command but start it with bin\mallet train-topics....
./bin/mallettells it what file will run the commandtrain-topicsis the command that you’re running--inputplus the file name that follows it is the MALLET file you’ll perform your train your models on--num-topicsplus the integer you put after it is the number of topics you have the model find. Default is 10.- The number of topics that you should use is perhaps the most vexing question for topic modeling. Remember that Micki Kaufman suggested she used 40 topics simply because it was how many Rob Nelson used for Mining the Dispatch. Here’s a useful passage from Shawn Graham, Scott Weingart, and Ian Milligan’s, Programming Historian tutorial: “How do you know the number of topics to search for? Is there a natural number of topics? What we have found is that one has to run the train-topics with varying numbers of topics to see how the composition file breaks down. If we end up with the majority of our original texts all in a very limited number of topics, then we take that as a signal that we need to increase the number of topics; the settings were too coarse.”
--outputThree different files that will contain our results from the training process. See below for more details.
Optional Commands
Here is another command that you can use while training your topics: --num-iterations "X" --optimize-interval “X”.
--num-iterationsplus the integer that follows tells your computer how many times it should run through the process before it yields the final models.--optimize-intervalplus the integer you put after allows the model to learn from itself as it goes along. I find that it gets better results to include this. You need to set this to an integer. Optimization should take place every 10 intervals, according to the MALLET website.
6. Record Your Work
Like regular close reading, there is definitely some art to the process of distant reading. One of the advantages that the latter has over the former, however, is that it can be a lot simpler to record your process so your work could be replicated. That said, once you do a series of topic models, it can be really easy to lose track of what you’ve done. Therefore it’s important to keep a record as you work.
- Move your three output files to another directory. You might want to name the folder with something helpful like “duffy-nostop-10topics.”
- You should also create a note of what you did to create these files. Create a text file (either from your GUI or from the command line using
touch "name".txt. Go to the terminal and copy the commands that you used to create the file and then paste them into the text file.
7. Interpret Your Results
We created three files from our process:
- topic-state.gz: every word in your corpus of materials and the topic it belongs to. You probably don’t need to look at this.
- topic-keys.txt: a text document showing you what the top / “key” words are for each topic.
- composition.txt: outputs a text file indicating the breakdown, by percentage, of each topic within each original text file you imported. This is normally best viewed in Excel.
Take a look at the topic-keys. See if there are multiple topics that seem to use the same terms. If so, you might want to re-run the model with less topics. If there doesn’t seem to be coherence among the topics, you might need to re-run the model with more topics. Consider whether there are terms that seem to be throwing off or clogging the model, including stopwords or character names. You might want to re-compose the MALLET corpus to deal with such terms.
Take a look at the composition in a spreadsheet like Excel. Find a topic that you’re interested in, and look for the number of the topic in the column at the top of the page. Sort the spreadsheet by that column and look at which documents have the highest percentage of being composed from that topic. Are the results expected? Do the documents seem to belong together?
Don’t forget to consider the suggestions Miriam Posner provides in her “Very basic strategies for interpreting results from the Topic Modeling Tool.” Even though we aren’t using the same tool that she talks about, they are still useful tips.
Other Resources
David Blei, who is the lead author on the original paper about topic modeling, wrote a general introduction to topic modeling. Scott Weingart has a really good post on “Topic Modeling for Humanists,” which I think is a useful overview for anyone, regardless of the field they are in.
Credits
This guide is a very stripped-down and adapted version of “Getting Started with Topic Modeling and MALLET” by Shawn Graham, Scott Weingart, and Ian Milligan, which is just one of many fabulous lessons at The Programming Historian. This lesson and the others at Programming Historian are released under a CC BY license, which I’m grateful for.
I prepared a version of this guide at first for my own use and then deployed it in a number of workshops on topic modeling for Brown University Library’s Center for Digital Scholarship. This is an updated version for our class this year with a number of improvments.
